Sunday, April 7, 2013

Painting 2 of 13

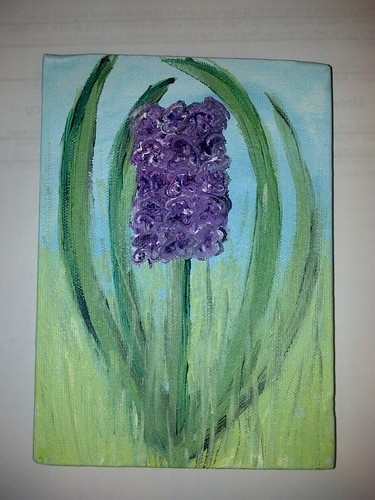
Painting 2/13

This is a quick little painting I painted on Friday night. I'm not sure what to say about it. I was trying to capture the feel of a hyacinth. I'm not sure I succeeded. It felt good to paint though.

One Fish, Two Fish

I have also been experimenting with painting Seuss-inspired fish for my sister. Even though this is a painting, it's just done on regular paper so I don't really count it. I'm planning to paint some similar fish on canvas for her. (Just to be clear, these are not copied from Seuss. They just are inspired by his style.)


Monday, February 25, 2013

How I Love and Shock You

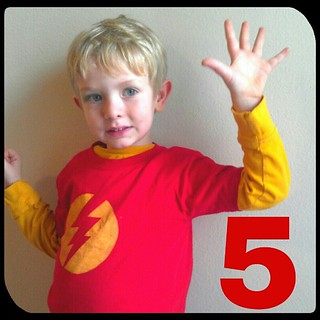
Happy  birthday, Thomas! #wholehand #fiveYesterday Thomas (who just turned 5 years old on Feb. 8) announced that he wanted to become a rock star. He proceeded to write a song and practice singing it. Now he just needs some musicians to play some instruments for his music video. He would really like 4 people to play the trumpet, 4 people to play the recorder, and 4 people to play the cymbals. If you'd like to audition, let me know.

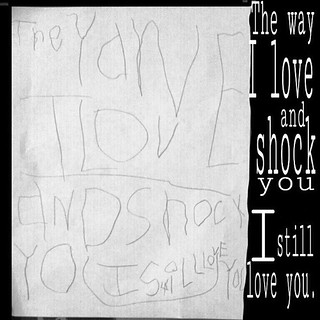
Honestly, the lyrics Thomas wrote for his song are pretty cool. They could be the start to an amazing song. I know I'm biased since I'm his mom, but really... He came up with this all by himself.
Corrected translation #goodbyeIS #loveandshockyou #Songbyapreschooler

Sunday, February 24, 2013

My Painting Past (1992)

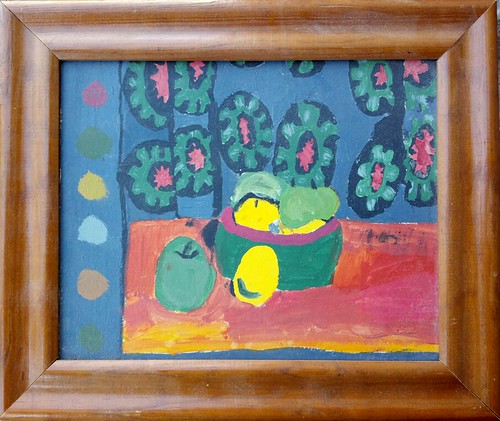
Cezanne-inspired still life

When I was in middle school we had one six-weeks where our special area was art. That was it for the whole two years there. (We also had rotations are home ec, music, and shop, amongst other things.) After the first couple of projects in art class the teacher chose a couple students to be in the "advanced" art group. Quite frankly I was surprised to be chosen. I was the nerd of our family. My sister was the artsy one. While I enjoyed art, I did not see myself as someone who had tons of artistic ability. (I still pretty much see myself this way: I love it but am mediocre. I need to put in much more time before I am really good at painting/other art.)

Anyway, the advanced art group got to do paintings modeled after works by great artists. This, I believe, was inspired by the still lifes of Paul Cezanne. I actually think I may have been trying to copy a specific painting, but I'm not sure what it was. I remember this taking me most of the 6-weeks to finish. I was very meticulous and perfectionistic about it. I wonder what it says about me that I have progressed to doing paintings within one to two hours? I don't know that my paintings are any better than this painting that I did at 12-years old. I just produce them faster.

Sunday, February 17, 2013

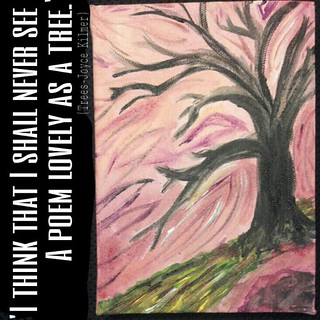
A Tree-Painting 1/13

A Tree- painting 1 of 13 for 2013

I finally painted my first painting for 2013. I hadn't initially planned on painting a tree tonight, but that's what I ended up doing. I should not be surprised since I love to sketch trees. I have filled many a church bulletin and many a margin of notes with drawings of trees. I come by this honestly. My dad also sketches trees and also used to paint them. This will probably not be the last tree painting I create.

Thursday, February 14, 2013

Happy Valentine's Day!

valentines

From my family to yours: Happy Valentine's Day!

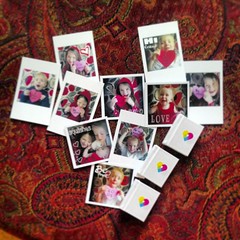
(These are some of the photos I used for the kids' Printstagram valentines.) 


Instagram 

Saturday, February 9, 2013

Printstagram Valentines

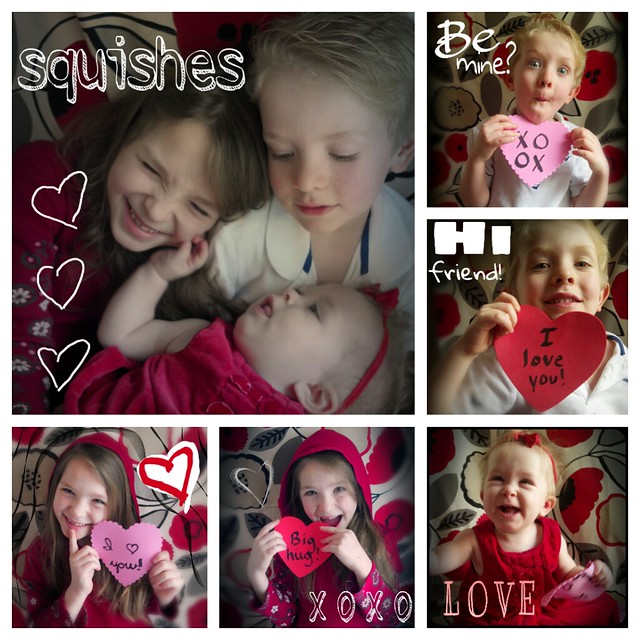
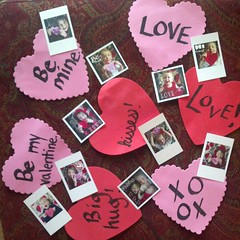
I decided to make valentine cards for my kids by using Instagram and Printstagram. I bought some cheap foam hearts and wrote different sayings on them. I bought some fabric to use as a backdrop. Then I snapped some photos, did a little editing, and posted them on Instagram. Then I ordered some sets of prints using Printstagram. For the cards to take to school I printed the Prinstagram Minicards which kind of look like baby Polaroids. There is white space on the top and bottom so the kids can write messages for their friends. I ordered the Mini Squares for me to give out to family and friends. I'm pretty excited about how they came out.


Printstagram valentines Printstagram valentines


Instagram

Saturday, January 26, 2013

Story Laboratory Photo Props

Photo booth

I was on the planning committee for the book fair at Zoe's school. The theme was "Story Laboratory" so everything revolved around a science theme. I'm sure you are thinking, "Book fair? That's not a big deal!" At Zoe's school it is! They hold a huge kick-off pep rally lead by the sixth grade book fair crew. Then they have the fair set up for a week with events for every member of your family to come. We had breakfasts for the moms and grandparents. We had a movie night geared at dads. We had a Poetry Cafe where hot chocolate was served by one of the local coffee shops. (Thanks to JoZoara Coffee Shop!) Our grand finale was Super Science Saturday where we had 9 different science sessions- from robotics to building roller coasters to mammals. It was a ton of fun.

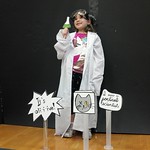
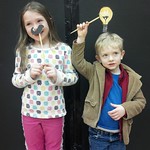
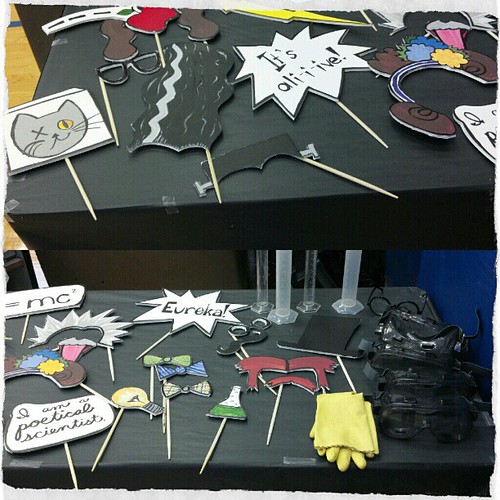
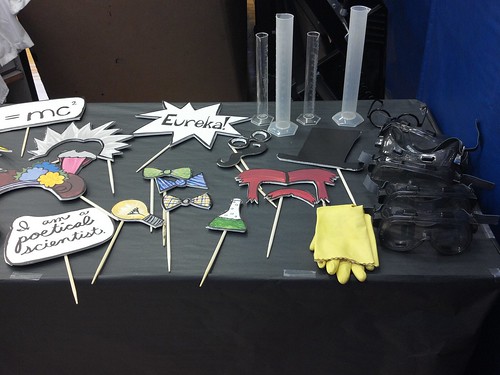
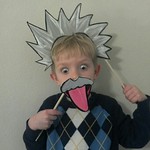
My big contribution was setting up a photo booth with photo props. The background was just a couple of huge pieces of cardboard painted black. I wanted to keep that simple so the props would show up well. Since we were going with a science theme, I made most of my props based on famous scientists such as Newton, Tesla, and, of course, Einstein. I also wanted to make sure female scientists were represented. Marie Curie, arguably the most famous female scientist, did not have interesting enough hair for me to use. Instead I decided to do Ada Lovelace hair. Not only does she have interesting hair, she also has an interesting life! (30 second recap: Daughter of Lord Byron, computer programmer for Babbage's Analytical Engine, called herself a "Poetical Scientist")
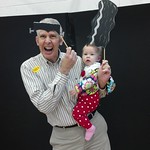
Genius! Photo booth Photo booth Photo booth

Want to know how to make photo props?
It is easy but time-consuming.

Supplies:

Foam Core boards (Look for it with the regular poster board.)
Exacto Knife
Cutting board
Either a Sharpie Marker and paints
OR printed out pictures and glue
Chop sticks or dowel rods
Glue (Tacky glue worked well.)


  • Draw the outlines of the props onto the foam core.
  • Cut them out using your Exacto knife. Don't cut off your fingers!
  • Paint  prop OR glue print-out onto prop
  • Touch up the outline using your Sharpie after the paint or glue has dried.
  • Glue the chop sticks on the back. Make sure to consider which hand you want them held. I put the sticks for the hair/hats to be held in one hand while the smaller props were made to be held in the opposite hand. The word signs had sticks in the middle so they could be held in either hand.

As you can see from the photos, we also added other props like lab coats, gloves, goggles, and graduated cylinders. The kids really enjoyed the variety.

More photo props #storylaboratory